Redo offers a state of the art return management software which integrates seamlessly into Shopify and Hydrogen stores. It provides a customer portal to submit returns and a merchant app to monitor and manage returns. In the event of a return, Redo provides free return labels and package protection for an optional add-on fee which users add at checkout time.
@redotech/redo-hydrogen
NPM package for Shopify Hydrogen integration
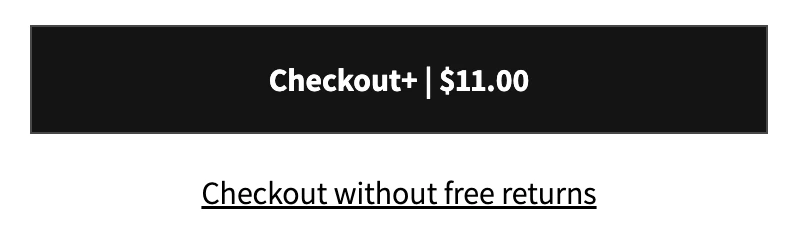
It’s important that users provide explicit consent to have an add-on product
in order to be compliant with Shopify’s rules regarding add-on products. To
achieve this, users should be given both options as checkout buttons and that
they select one. Users provide explicit consent for the add-on by clicking
the “Checkout+” option or by clicking “Checkout without free returns”. Just
having a toggle that they can optionally change is not enough.
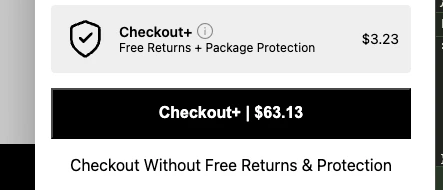
This component is provided as an optional addition to your checkout design. It has an assorted number of customizations that are detailed below.
import { RedoCheckoutButtons, RedoInfoCard } from "@redotech/redo-hydrogen";// ...const ExampleCartDetail = ({ cart }) => { const optimisticCart = useOptimisticCart(originalCart); return ( <div> <ExampleCartProductList /> <ExampleCartSummary /> {/* ... */} {/* Similar to the RedoCheckoutButtons, if Redo is deactivated, this card will not appear*/} <RedoInfoCard /> {/*...RedoCheckoutButtons...*/} </div> );}
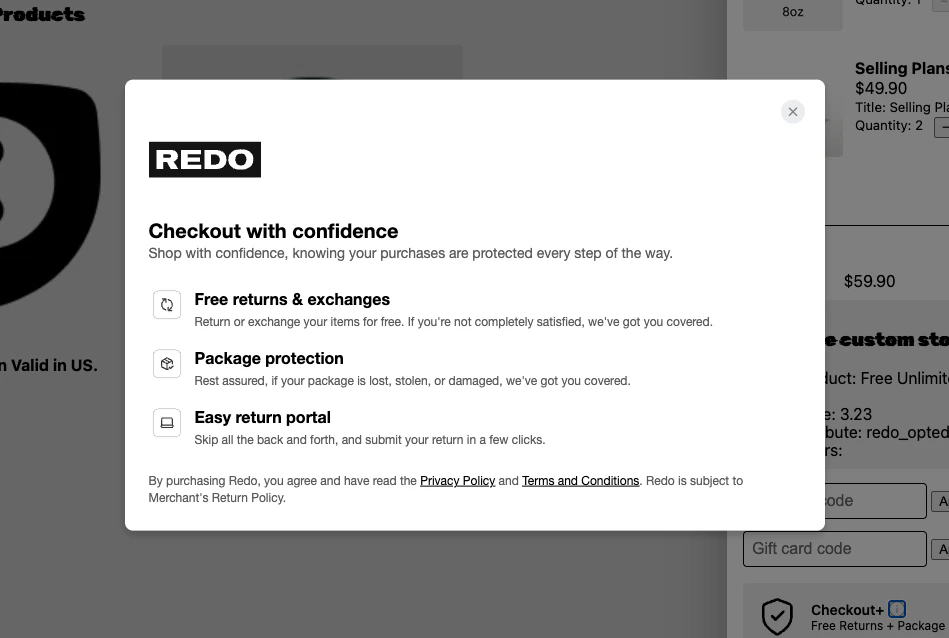
Without any props passed, the info card will appear as shown below.The info icon is the small icon to the right of “Checkout+” in the infoCard. That icon is clickable, and will open the modal shown below.
showInfoIcon?: boolean = trueThis toggle decides whether the info icon is visible. Without the icon visible, there is no way to show the info modal.
onInfoClick
onInfoClick?: (): voidThis function allows for full customization of the infoModal. By passing in the click functionality, clicking the info icon will instead run this function.
infoCardImageUrl
infoCardImageUrl?: stringThis url will replace the shield icon currently shown on the info card.
infoModalLogoUrl
infoModalLogoUrl?: stringThis url will replace the Redo logo currently shown on the info modal.
infoModalImageUrl
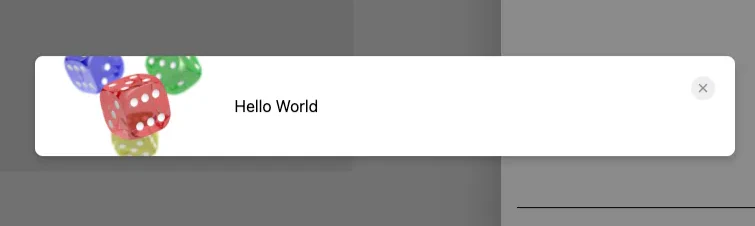
infoModalImageUrl?: stringThis url will add a background image on the left side of the info modal. An example is shown below.
modalContent
modalContent?: ReactNodeThis node will replace the internal content of the info modal with your own content. IMPORTANT: this will remove all styling of the main content, but it will not remove the infoModalImage. An example is shown below.
The following utilities are provided as top-level exports from the @redotech/redo-hydrogen package.The RedoCoverageClient provides functions to enable and disable coverage, as well as the information necessary to enable coverage manually without using the helper functions. It is a consumer of context from the RedoProvider so it must be a descendant.
Cart type should implement this Cart type from “@shopify/hydrogen”. If you are getting errors, check the errors on the RedoCoverageClient. You should be getting a message saying what fields are missing.
If you are using useCart(), this type varies slightly. As a workaround, use <RedoProvider storeId={/* ID */} cart={{...cart, lines: { nodes: cart.lines }}} />. Future versions of this package will be more flexible on cart input types.
IMPORTANT: check the customizations section for information about each of
these props. onInfoClick and modalContent will drastically change the
behavior of this component.
In order to allow the necessary requests to make it to Redo’s API, you must put Redo’s hostnames into your allowed hostnames list. The required domains have been exported from the module as the constant REDO_REQUIRED_HOSTNAMES:
The utilities provided retrieve all of their information using the Redo public API endpoints described in our documentation at https://developers.redo.com/, specifically the Get coverage product endpoint.
For stores that support multiple simultaneous cart actions (adding/removing cart lines and modifying cart attributes), you can improve speed further by adding the Redo product and cart attribute simultaneously. Instead of calling redo.enable() and redo.disable(), manually add the redo.cartProduct and redo.cartAttribute in a single request.
If manually adding the Redo product and attributes, it’s important to clear
out any other Redo products as they may change based on cart contents. Redo
products can be identified by the vendor name “re:do”.
The RedoCheckoutButtons will remove other Redo products upon page load, ensuring that Redo is only added at checkout time, even if someone has just navigated back from checkout. However, when rolling your own “Redo enable/disable” functionality, you will need to worry about implementing this yourself.